Indice
Descrizione
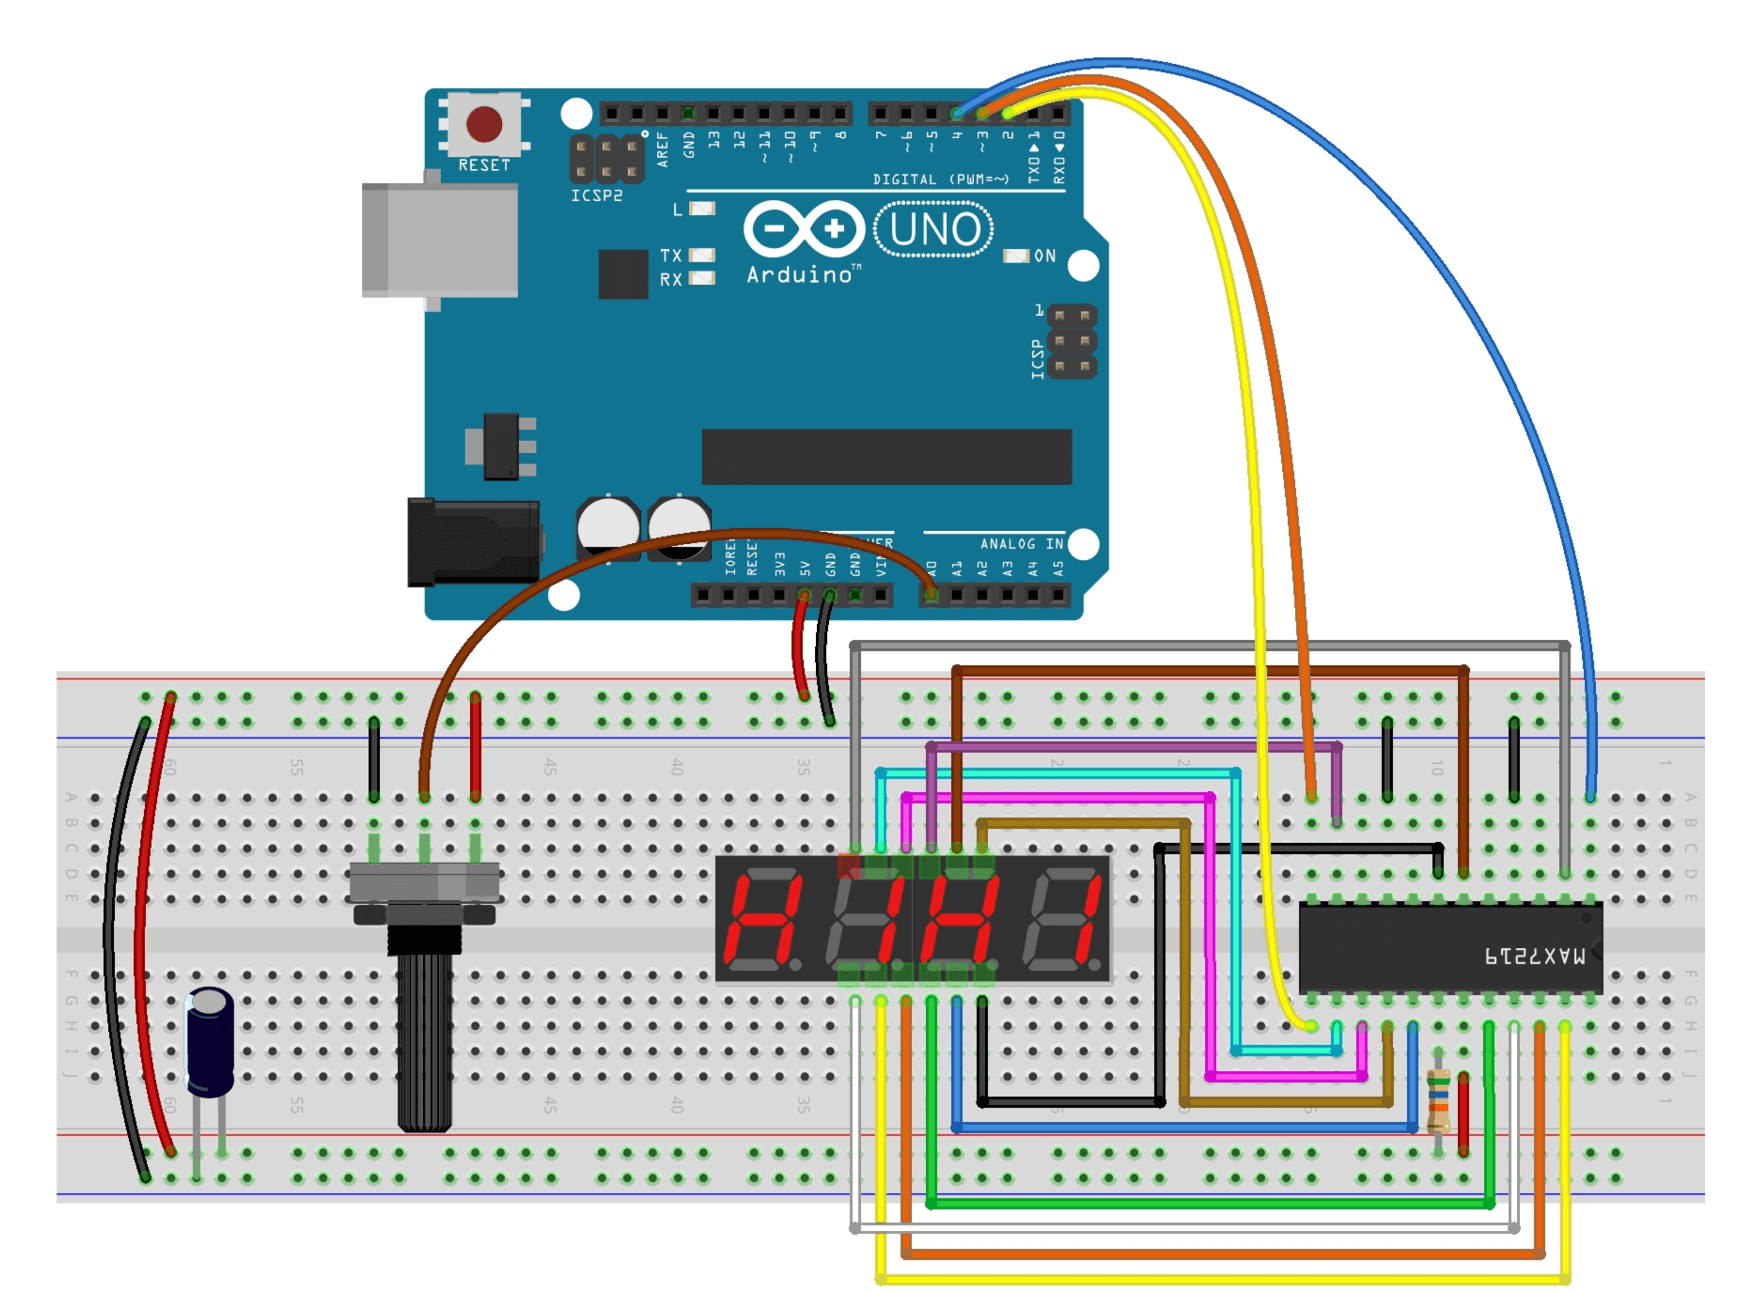
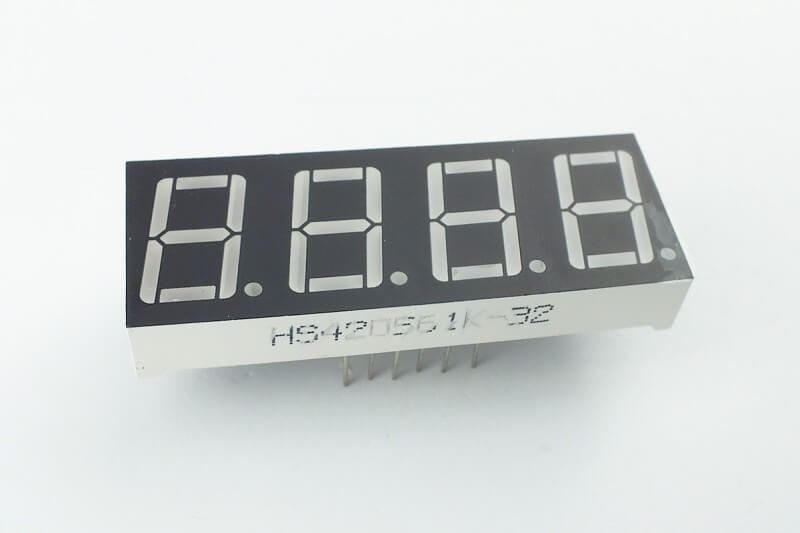
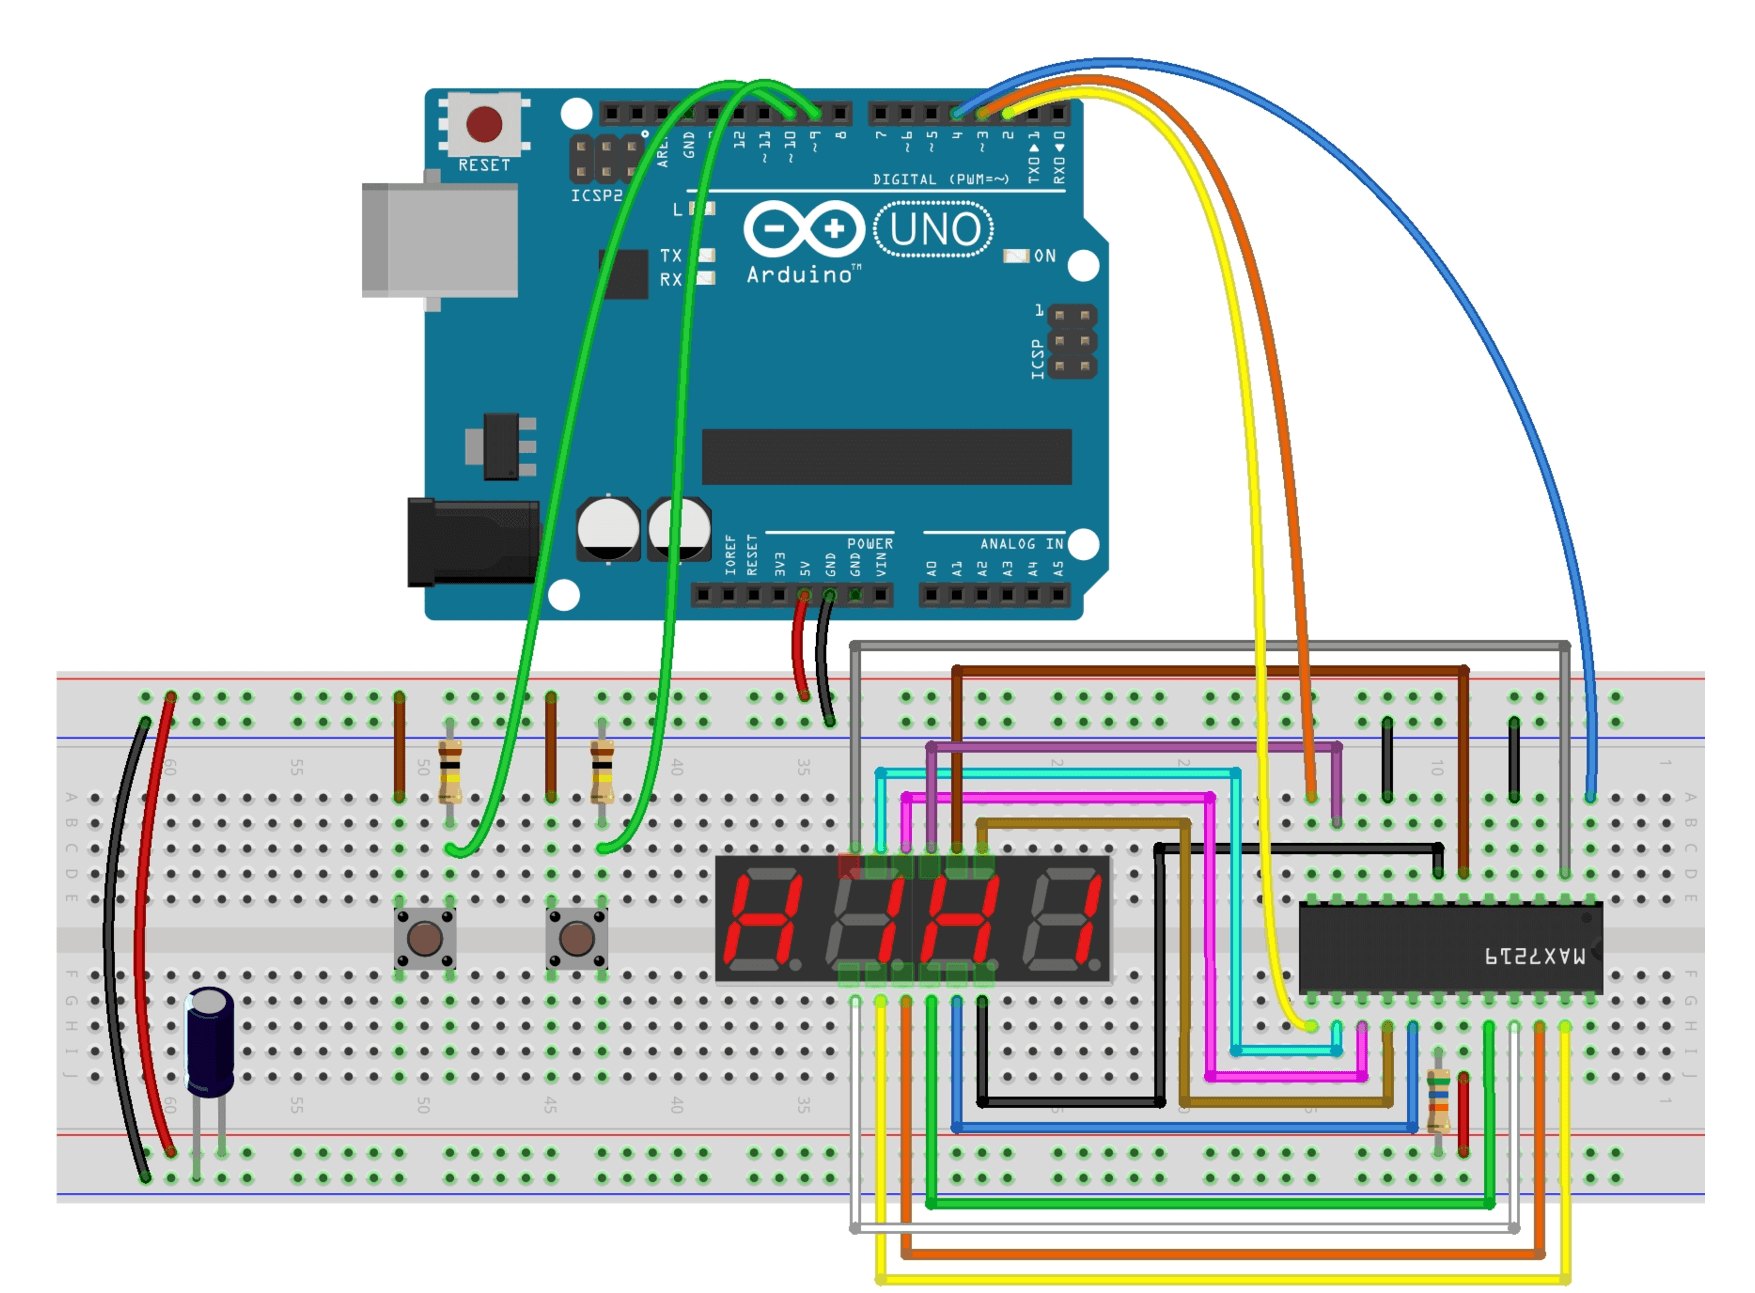
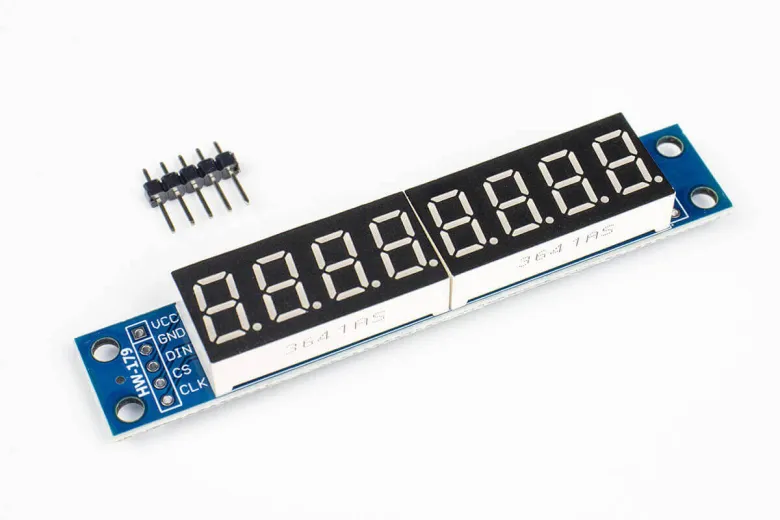
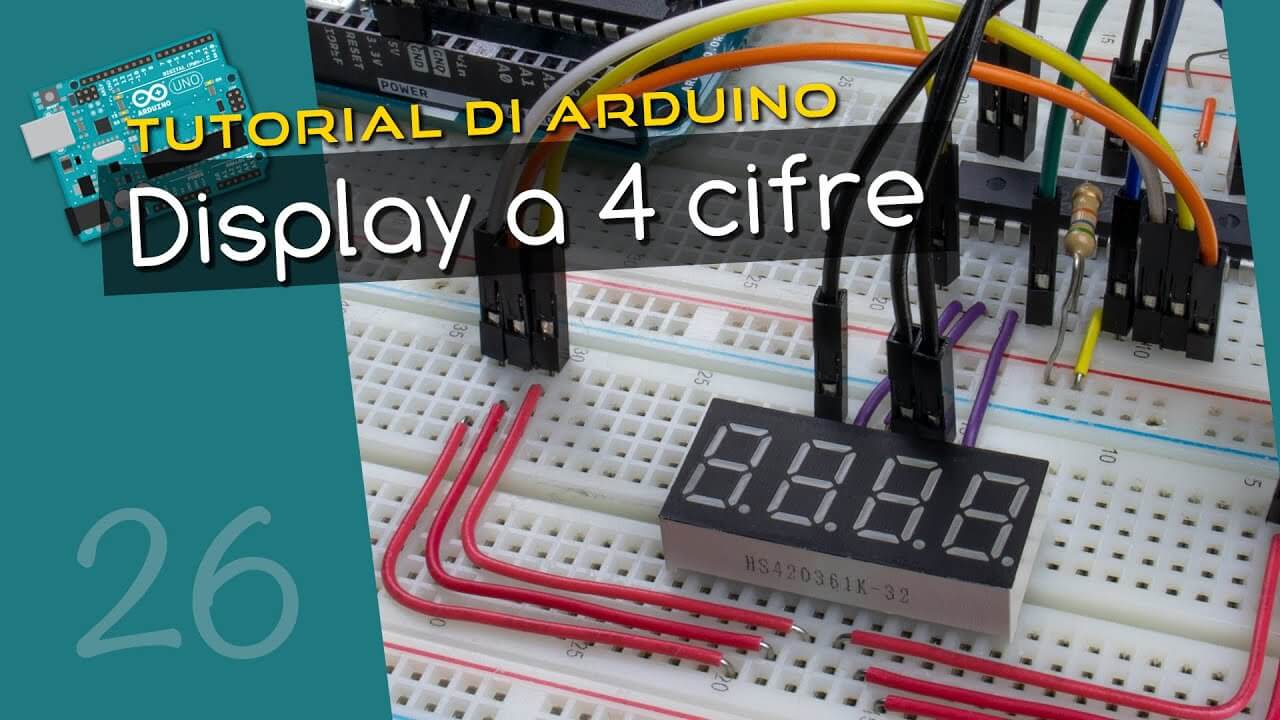
In questo video scoprirai come usare dei display a 4 cifre con Arduino.
Scoprirai quali sono i collegamenti da fare per visualizzare dei numeri e come creare un cronometro.
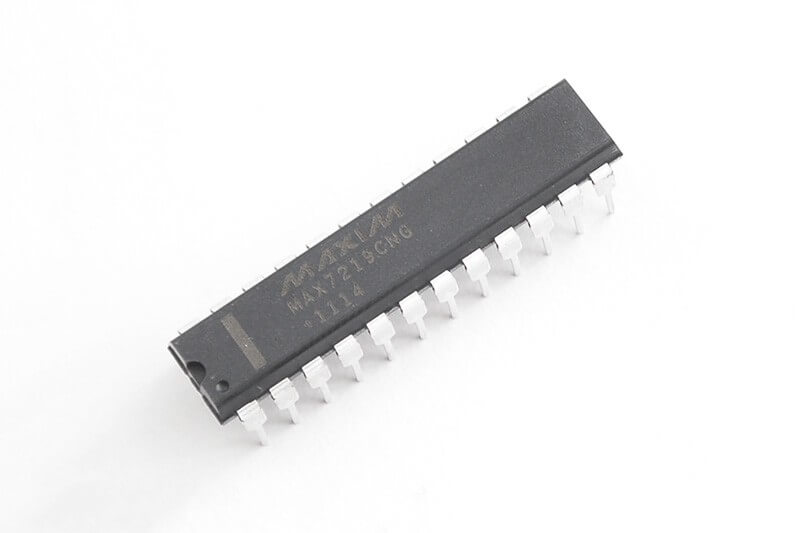
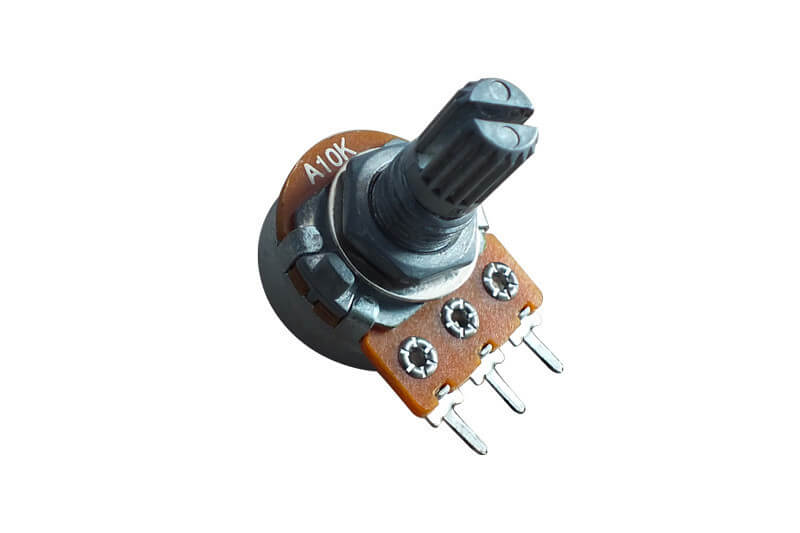
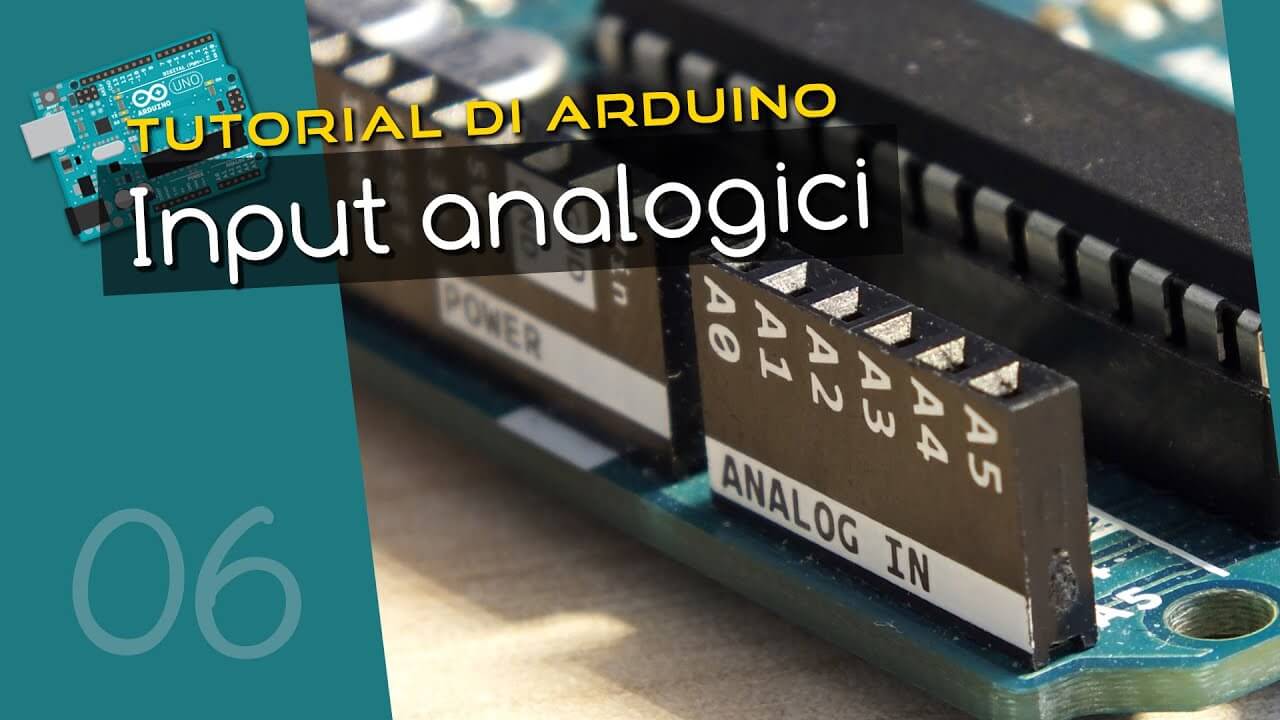
#include "LedControl.h"#define DIN_PIN 4#define CLK_PIN 2#define LOAD_PIN 3#define DIGITS 4#define POTENTIOMETER_PIN A0 LedControl lc = LedControl(DIN_PIN, CLK_PIN, LOAD_PIN, 1); void setup() { lc.shutdown(0, false); lc.setIntensity(0, 15); updateDisplay(0, 3);} void loop() { float volt = analogRead(POTENTIOMETER_PIN) * 5.0 / 1023; updateDisplay(volt, 3); delay(100);} void updateDisplay(float number, int decimals) { decimals = constrain(decimals, 0, DIGITS-1); int numToShow = number * pow(10, decimals); int currentDigit; for (int i = 0; i < DIGITS; i++) { currentDigit = (int) (numToShow / pow(10, DIGITS-1-i)) % 10; lc.setDigit(0, i, currentDigit, DIGITS-1-i == decimals); }}
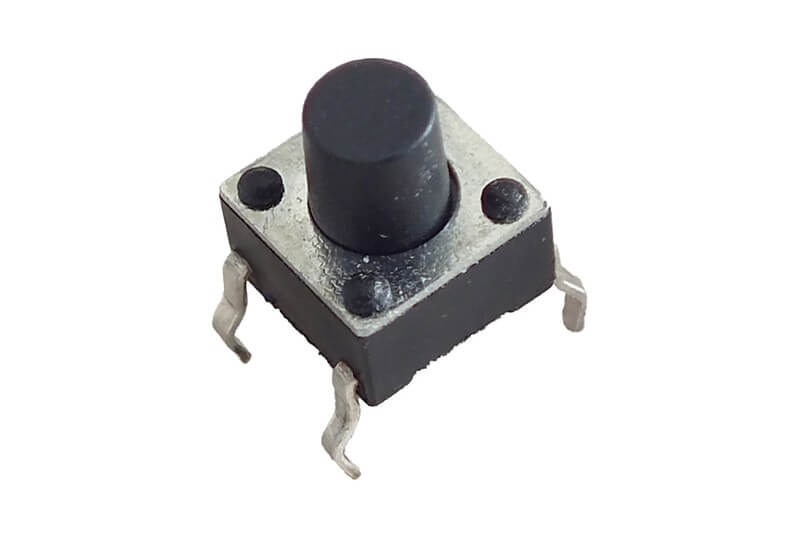
#include "LedControl.h"#define DIN_PIN 4#define CLK_PIN 2#define LOAD_PIN 3#define DIGITS 4#define PLAY_BUTTON_PIN 10#define RESET_BUTTON_PIN 9 LedControl lc = LedControl(DIN_PIN, CLK_PIN, LOAD_PIN, 1);float seconds = 0.0;bool enable = false;int playButtonLastState = LOW;int resetButtonLastState = LOW;unsigned long lastChange = 0; void setup() { lc.shutdown(0, false); lc.setIntensity(0, 7); updateDisplay(seconds, 1);} void loop() { int playButton = digitalRead(PLAY_BUTTON_PIN); int resetButton = digitalRead(RESET_BUTTON_PIN); if (playButton != playButtonLastState && playButton == HIGH) { enable = !enable; delay(50); } playButtonLastState = playButton; if (resetButton != resetButtonLastState && resetButton == HIGH) { seconds = 0.0; updateDisplay(seconds, 1); enable = false; delay(50); } resetButtonLastState = resetButton; if (!enable) { return; } if ((millis()-lastChange) > 100) { seconds += 0.1; updateDisplay(seconds, 1); lastChange = millis(); } delay(10);} void updateDisplay(float number, int decimals) { decimals = constrain(decimals, 0, DIGITS-1); int numToShow = number * pow(10, decimals); int currentDigit; for (int i = 0; i < DIGITS; i++) { currentDigit = (int) (numToShow / pow(10, DIGITS-1-i)) % 10; lc.setDigit(0, i, currentDigit, DIGITS-1-i == decimals); }}
In qualità di Affiliato Amazon riceviamo un guadagno dagli acquisti idonei